Construction Tips
Material: The basic building material is 1/8" B flute corrugated
cardboard (CB) with a white paper finish on one side and a brown unfinished paper on the other side. The white paper
finish side, which becomes the outside surface of the model, results in a smooth surface for final finishing.
CB with brown facing paper on both sides can be used, but the finish will not be as smooth and it may take extra coats to
give good coverage with light colored paint. 200 lb test board (a measure of its strength) is the most readily
available material as it is commonly used for CB boxes. 150 lb test board is perfect as it is lighter
in weight than the 200 lb test board, but with adequate strength for model building. But it is harder to find as
this board usually requires a special order.
My main motivation
for using CB was to reduce building time and cost, with the emphasis on cost. Its my hope that you can obtain
CB for free. So check local merchants and their dumpsters to see if you can find some free CB. But a word of caution
here! The biggest mistake first time CB model builders make is to use two plys of 1/8" CB or 1/4" CB which
they think is required for added strength. DON'T DO IT! These designs have been
tested and are plenty strong. The added CB is not needed and will only result in an overweight model with poor
flying characteristics.
If you can't find what you want
for free, then look to buy some good quality CB in your area because it is inexpensive if obtained locally.
The best way to do this is with a computer search on "Boxes Corrugated and Fiber". Hopefully, among the
results will be a few companies in your area that manufacture corrugated boxes. A phone call will tell you if they
have the 1/8" B flute with the white paper finish on one side.
Glue:
Water based glue, such as Elmers or Titebond, is recommended. Contact cement is not recommended since
parts cannot be shifted when gluing surfaces.
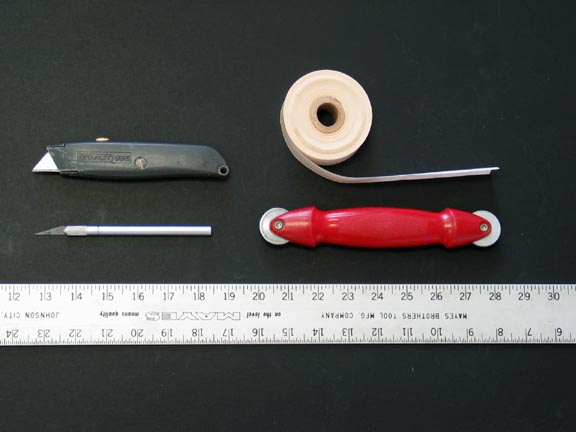
Folding: The scoring of
the fold lines is done with a screening tool available at hardware stores. It consists of a handle with a 1-1/2"
radius wheel at one end, which is run along the metal straight edge on the fold line.
Waterproofing: Waterproofing, if desired, can be applied to the raw CB material before you cut
out the parts. Mix 25% clear polyurathane with 75% paint thinner and brush on the white outside of the CB sheets and
allow 48 hours to dry. I don't waterproof my models as I don't fly in rainy weather.
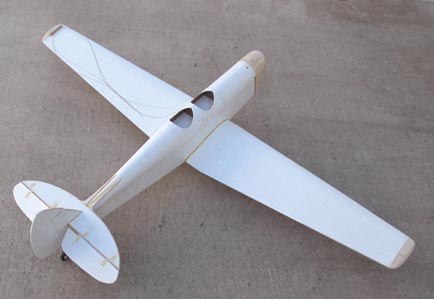
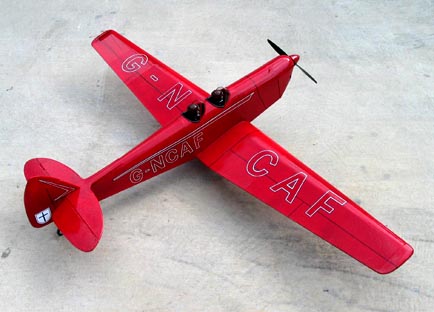
Finishing: One advantage of CB is that it gives a solid surface with no open areas to cover
(See the completed Moth Minor model below). My finish method is to give 2 coats of clear dope, sanding lightly between
coats with #400 sandpaper, followed by 2 coats of color dope. Coverings, such as Solarfilm or Monokote, can be used.
But with these, it is recommended that the surface not be doped, which will result in a better bond.
Paper Tape: All seams, joints and exposed edges of he model are covered with strips of gummed paper tape. Cut
a thin strip to length, dip in water and smooth it over the seam. Use paper towels to blot up the excess water on the
tape.
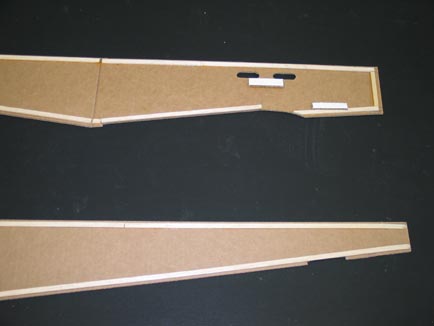
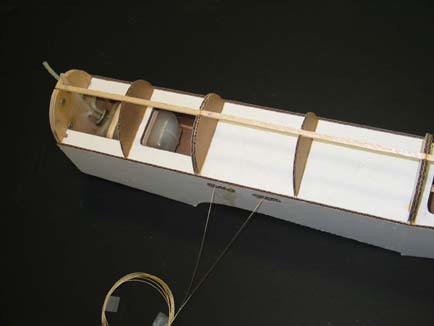
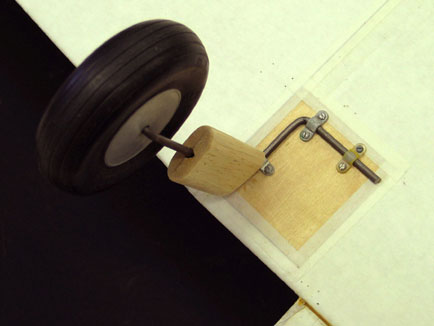
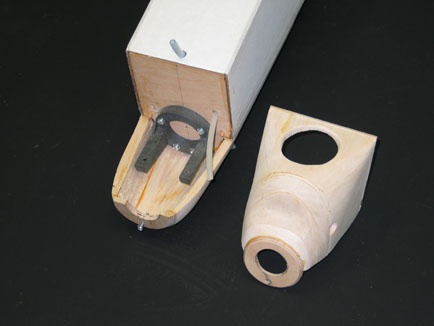
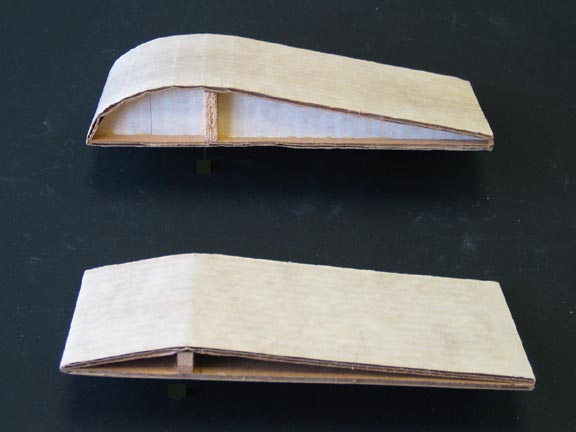
Construction Photos