FUSELAGE The 44" CB length may not be long enough to build the fuselage sides
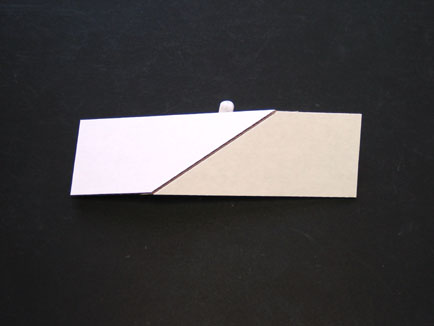
in one piece. In this event, splice a piece to the aft fuselage using the following procedure. 1.
Cut a splice piece to get the required fuselage length, but cut it on a diagonal to get a longer gluing length.
3.
Turn the pieces over, slide a shim under one side so the seam opens up, add a bead of glue to the seam, remove the shim and
lay flat until dry. Wipe off any excess glue. Glue the interior fuselage edge balsa stringers right over
the masking tape on the brown side. Cover splice with gummed paper tape on the white side to finish.

WINGS
For some of my larger models, the 22" wide dimension
may be too small to build each wing half from one piece of CB folded at the leading edge. In that event,
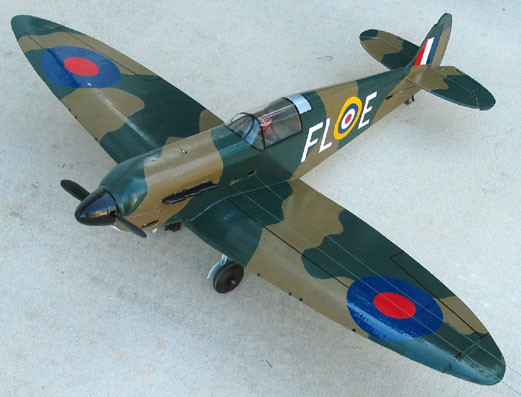
the top piece of the wing may be cut as a separate piece. An example of this is my Spitfire. The center section
of the Spitfire has a straight LE and can be folded at the LE. But the much larger outboard panel has an elliptical
shape and therefore cannot be folded.


|
 |
|
|
|
 |
2. Turn
the pieces over brown side up and add a 1/2" wide strip of masking tape over the splice.
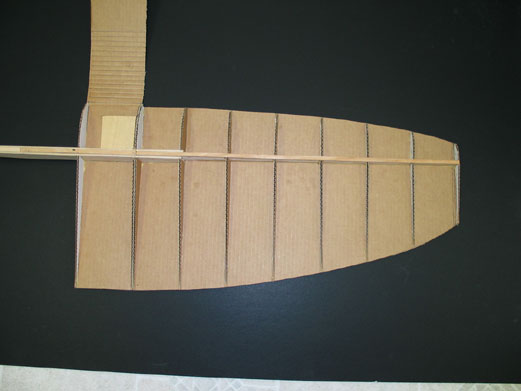
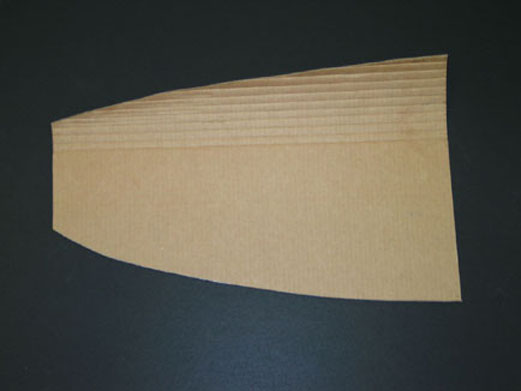
(Left) The bottom wing panel with spar and ribs glued in place. (Right) The top panel is a separate
piece which as been scored and folded. (Left Bottom) Once the top panel is glued in place, the LE and TE seams are
covered with gummed paper tape. The finished model photo shows that this method still produces a good looking result.
Any of my designs, including biplanes, can be built using this separate top piece method.

The LE glue joint is actually stronger than the folded LE as the water based glue penetrates the CB pieces.
The only advantage to the folded LE method is that it self-aligns the top piece and makes gluing a little easier.
In practical terms this means that the 44" x 22" CB sheets can be used to construct wings with up to approx.
a 20" chord, which is a big model by any standard.
|
 |
|
|
|